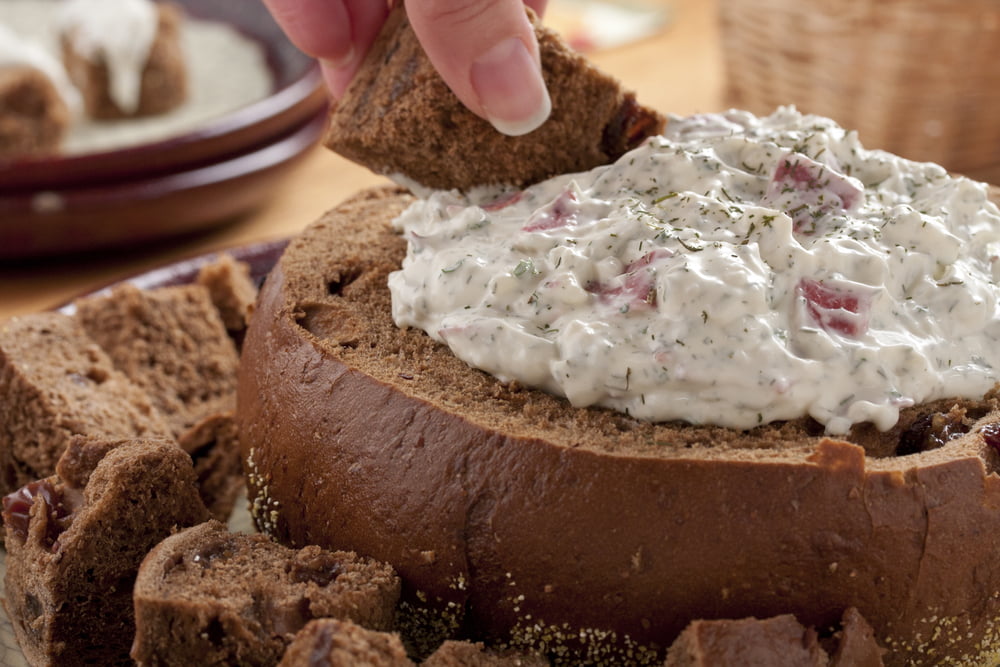
Chipped Beef Dip

img from MrFood.com

This has been a family favorite for years. We would make this for any “Dish to Pass” venue and it
would always lead to sharing the recipe out. One of my favorite dips that used to be GREAT with french bread.  Obviously, the french bread isn’t an option in this lifestyle. But with the new bread recipe I found, it brings this right back to the table!

This is a quick dip recipe that gets better as it sits. Once you make this, let it sit over night and the flavors will be that much better. I completely understand if you can’t wait that long, even just an hour will help. I have a hard time keeping my hands out of this.

Ingredients:

  • 8 oz Mayo
  • 8 oz Sour Cream
  • 2 T Minced Onion
  • 1/2 T Parsley
  • 1/2 T Dill
  • 1/2 T Accent
  • 1 1/2 pkg Chipped Beef (I use Carl Buddig Beef)
    • We have used their Cornned Beef and regular Beef as well.

Directions: 

  1. Dice the meat and put into a bowl
  2. Add the remaining ingredients and stir thoroughly
  3. Place a lid on the bowl or suran wrap it.
  4. Refrigerate overnight (or at least a couple hours)
  5. ENJOY!

Gumbo

We’ve made gumbo a few times. But I think my partner has hit the mark on this one. This recipe turned out absolutely fantastic. This is easily the best tasting Gumbo I’ve had.

I never trust the web to keep the information I link to. But the original post is here. You can get a fantastic walk through on making it with pictures.


Authentic New Orleans Style Gumbo

This Authentic New Orleans Gumbo is made with a dark roux, vegetables, chicken, sausage, and shrimp, and served over rice.

Approximately: 6 servings

Equipment

  • Enameled Pot

Ingredients

For the Roux:

  • 1 heaping cup all-purpose flour
  • 2/3 cup oil (vegetable or canola oil)

For the Gumbo:

  • 1 bunch celery , diced, leaves and all
  • 1 green bell pepper , diced
  • 1 large yellow onion , diced
  • 1 bunch green onion , finely chopped
  • 1 bunch fresh chopped parsley , finely chopped
  • 2-3 cloves garlic
  • 1-2 Tablespoons cajun seasoning *
  • 6-8 cups Chicken broth *
  • 12 ounce package andouille sausages , sliced into ‘coins’ (substitute Polska Kielbasa if you can’t find a good Andouille)
  • Meat from 1 Rotisserie Chicken*
  • 2 cups Shrimps , pre cooked
  • cooked white rice for serving

Instructions

  • Make the Roux*: In a large, heavy bottom stock pot combine flour and oil. Cook on medium-low heat, stirring constantly for 30-45 minutes. This part takes patience–when it’s finished it should be as dark as chocolate and have a soft, “cookie dough” like consistency. Be careful not to let it burn! Feel free to add a little more flour or oil as needed to reach this consistency.
  • Brown the sausage. In a separate skillet on medium-high heat place the sausage slices in one layer in the pan. Brown them well on one side (2-3 minutes) and then use a fork to flip each over onto the other side to brown. Remove to a plate.
  • Cook the vegetables in broth. Add 1/2 cup of the chicken broth to the hot skillet that had the sausage to deglaze the pan. Pour the broth and drippings into your large soup pot. 
  • Add remaining 5 1/2 cups of chicken broth. Add veggies, parsley, garlic and roux to the pot and stir well. 
  • Bring to a boil over medium heat and boil for 5-7 minutes, or until the vegetables are slightly tender. (Skim off any foam that may rise to the top of the pot.) Stir in cajun seasoning, to taste.
  • Add meat. Add chicken, sausage, and shrimp.
  • Taste and serve. At this point taste it and add more seasonings to your liking–salt, pepper, chicken bullion paste, garlic, more Joe’s stuff or more chicken broth–until you reach the perfect flavor. Serve warm over rice. (Tastes even better the next day!)

Notes

Roux: The roux can be made 3-5 days in advance, stored in a large resealable bag in the fridge.

Cajun seasoning: My preferred brand is Joe’s Stuff Cajun Seasoning but I can usually only find it online. You could use any brand, but may need to adjust the amount added, to taste. You can also make your own cajun seasoning. (We used Zatarans)

Chicken and broth:The best way to make this gumbo is by buying a rotisserie chicken–removing all the chicken, and using the carcass to make homemade chicken broth. Then make the gumbo using the chicken and homemade broth. You can use store-bought chicken broth, but homemade is way better! Here’s a tutorial for making it from scratch.

Storing Instructions:  Store Gumbo covered in the refrigerator for 3-4 days.  

Freezing Instructions: This recipe makes quite a lot, so save leftovers for another day!  To freeze gumbo, allow it to cool completely and store it in a freezer safe container (separate from the rice) for 2-3 months.  Thaw overnight in the refrigerator and reheat on the stove or in the microwave.

Grasshoppers

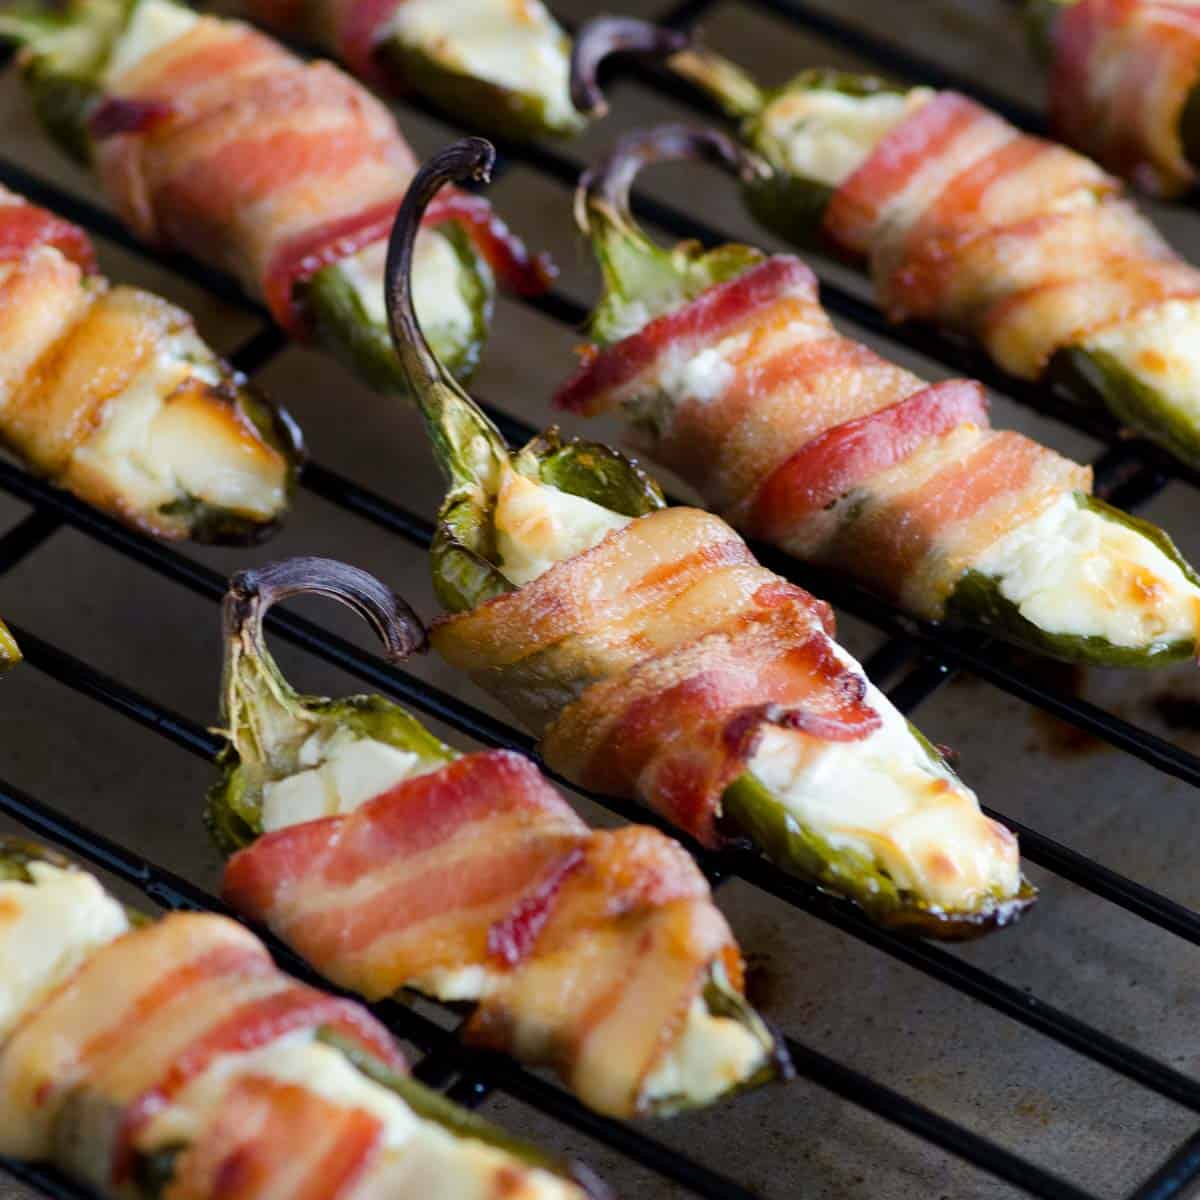
These babies may not look all that appetizing (apart from the bacon!) but they are fantastic. I could
eat 20 of them in a sitting if I was my pre-keto self. They are the “pringles” of snacks! Once you pop – you can’t stop!


You might know these by another name but I’ve always heard them called ‘Grasshoppers’.  Bacon wrapped, cream cheese filled jalapeno poppers!
They are extremely easy to make and the crunchier you get the bacon the better these taste! I missed the beer battered deep fried version of jalapeno poppers, but these quickly took over my hear!


Ingredients:

  • 5 jalapenos sliced in half lengthwise and gutted
    • Make sure all seeds and ribs are gone unless you like the heat
  • 3/4 c. Cream Cheese (Philadelphia seems to have the least carbs)
  • 5 Strips of Bacon

Directions:

  1. Prepare your jalapenos (Slice, Gut, get rid of seeds and ribs)
  2. Fill with cream cheese
  3. Wrap with 1/2 strip of bacon
    • Its even better if you dice the bacon and place on top of the cream cheese. When you take a bite, the entire piece of bacon wont come off with it.
  4. Place on a broiler pan and bake at 375 degrees until bacon is almost done 6-10 min
  5. Turn oven to broil and broil for 2-4 minutes to crisp up the bacon
  6. Let cool and enjoy!
  7. Makes 10 Grasshoppers

Gyro Meat and Tzatziki Sauce

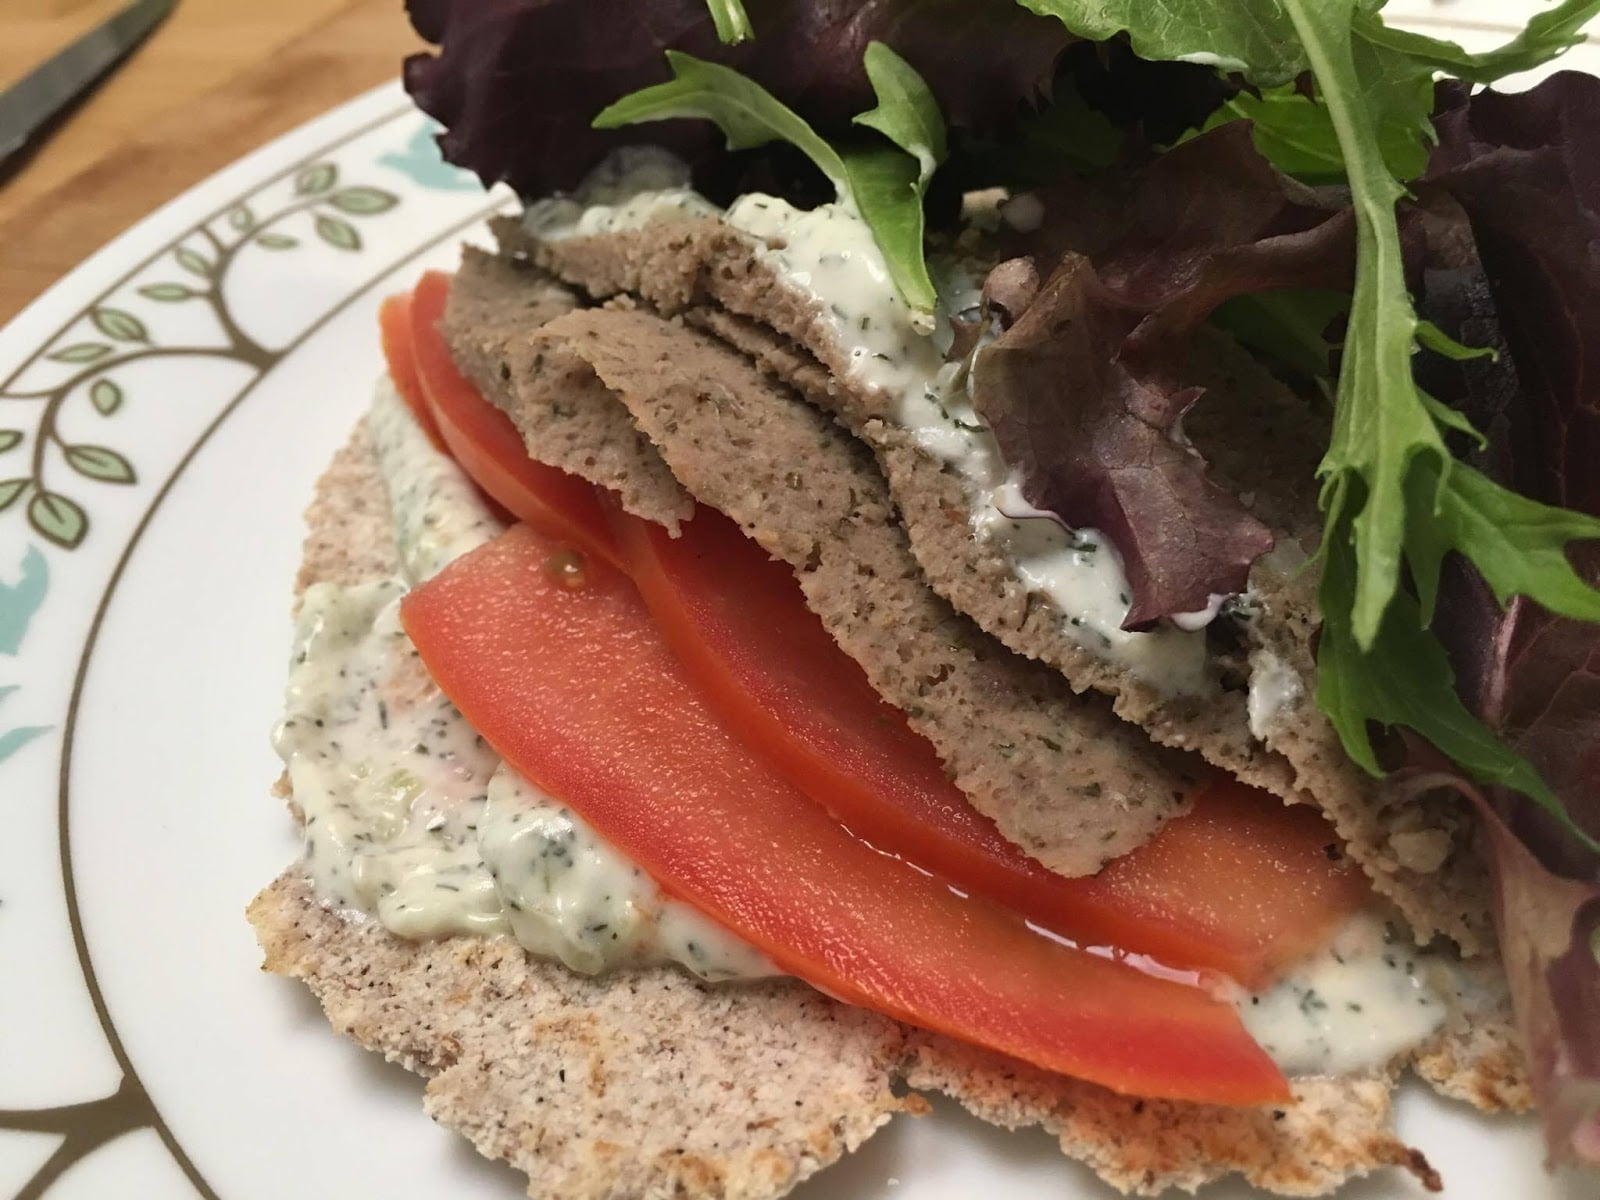
I have never cooked lamb before and I absolutely love gyro’s. I know that the carbs in Gyro’s can

very since some people add flours to the mix when they make the loaf. My husband and I decided to give it a go and make our own. We are very happy that we did.

We seen so many different recipes we decided to go with an easier one. But if anyone has any other tips tricks or otherwise, we are always all ears. As I’m sure you can all tell, we like to try new things.

The recipe we followed is below though we doubled it since we had 2 lbs of lamb. To help reduce carbs we only used 1 medium onion instead of doubling it. Everything else we doubled.

Recipe for the Gyro Meat was found on Reddit – here
Recipe for the Tzatziki was found from Ruled Me – here.

Lamb Meat – Gyro Meat

Ingredients:

  • 1 medium onion, finely chopped or shredded and drained (See directions)
  • 1 pound ground lamb
  • 1 tablespoon finely minced garlic
  • 1 tablespoon dried marjoram
  • 1 tablespoon dried ground rosemary
  • 2 teaspoons kosher salt
  • ½ teaspoon freshly ground black pepper

Directions:

  1. Preheat the oven to 325 degrees F.
  2. Process the onion in a food processor for 10 to 15 seconds and turn out into the center of a tea towel. Gather up the ends of the towel and squeeze until almost all of the juice is removed. Discard juice.
  3. Return the onion to the food processor and add the lamb, garlic, marjoram, rosemary, salt, and pepper and process until it is a fine paste, approximately 1 minute. Stop the processor as needed to scrape down sides of bowl.
  4. Place the mixture into a loaf pan, making sure to press into the sides of the pan. Place the loaf pan into a water bath and bake for 60 to 75 minutes or until the mixture reaches 165 to 170 degrees F. Remove from the oven and drain off any fat. Place the loaf pan on a cooling rack and place a brick wrapped in aluminum foil directly on the surface of the meat and allow to sit for 15 to 20 minutes, until the internal temperature reaches 175 degrees F.
  5. Slice and serve.

Note: Using a carving knife to cut the meat works great. Just like the shaved meat from a Greek restaurant!  

I would also recommend grilling the meet after its been shaved. it will improve the taste a bit and of course look tastier!

Tzatziki Sauce

Ingredients:

  • 1 cup full-fat plain Greek yogurt
  • 1 teaspoon garlic powder
  • 1 tablespoon white vinegar
  • 2 tablespoons olive oil
  • 2.5 ounces (¼ whole) cucumber, seeded and grated
  • 2 tablespoons minced fresh dill (or 2 tsp dry)
  • salt and pepper to taste

Directions: 

  1. Squeeze liquids out of the cucumbers. Discard the liquid and place grated cucumber into bowl.
  2. Add remaining ingredients and stir well. 
  3. Refrigerate for at least 45 min. The taste will improve as it sits.

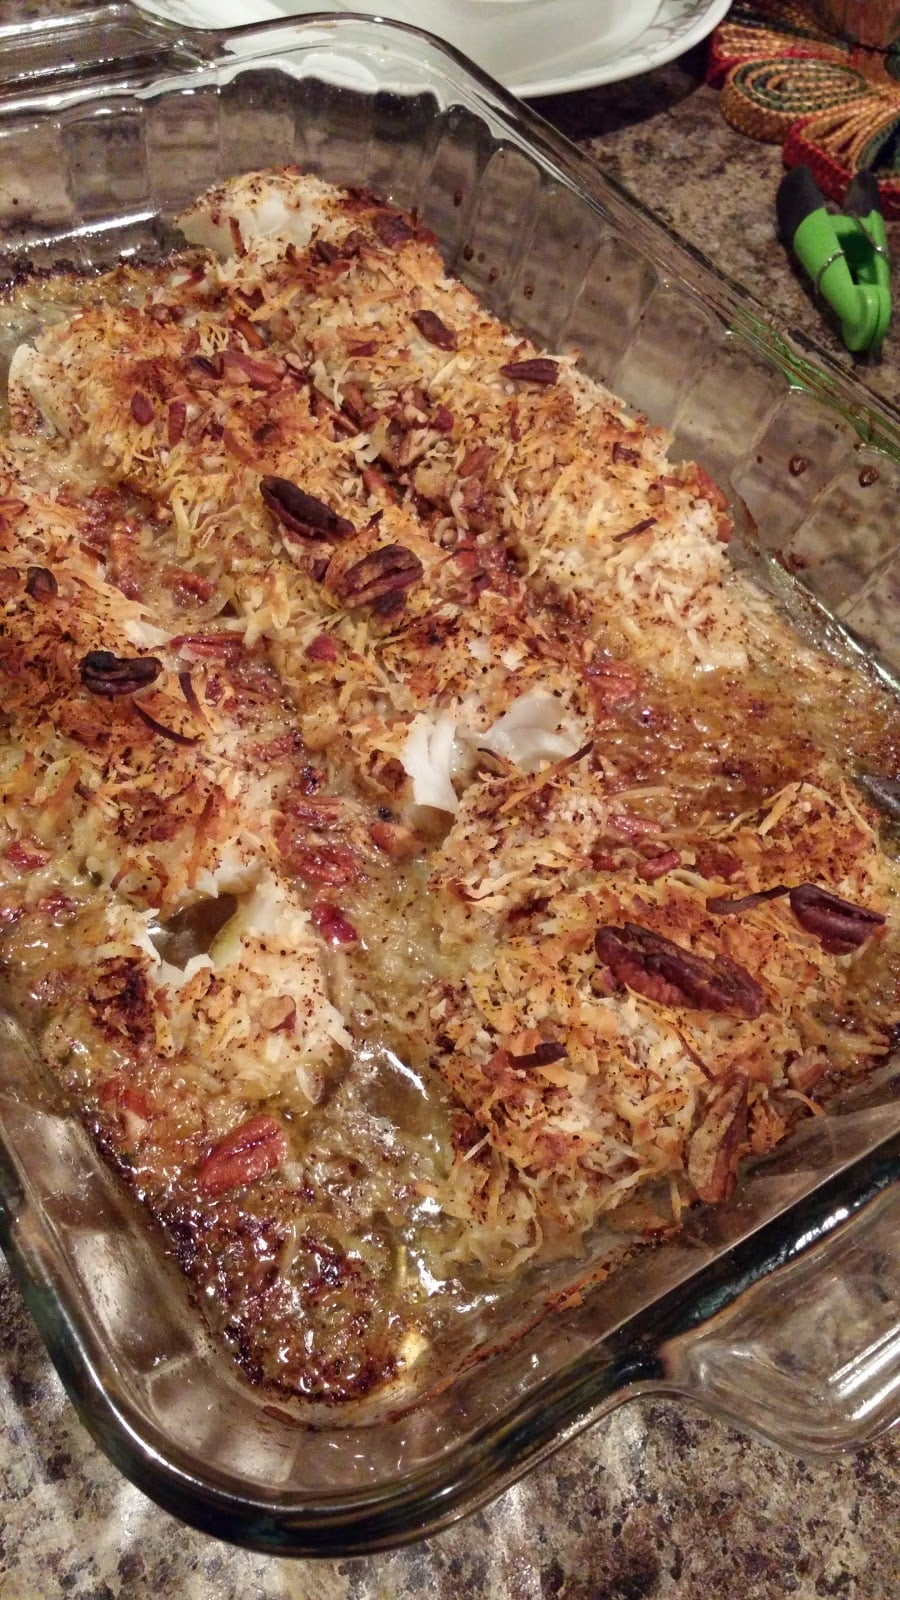
Coconut Crusted Fish

I say fish instead of listing Cod, Haddock, Tilapia or any other because we all have our budgets and fish is good cooked many different ways.  Granted I stick with my white fish. I got this recipe from a co-worker and it was awesome. But a word of caution: All of the amounts are estimated. I was given a list of items to use without measurements and just put together what looked right. So the description below is more of a guideline.

The picture does not do this justice!

Ingredients:

  • Juice from 2 fresh limes
  • 1/4 cup olive oil   (Oil should be equal to the amount of juice you get from the lemon)
  • 8 oz tilapia or other white fish (we used Cod)
  • Salt and Pepper
  • 1/2 cup Panko-bread crumbs
  • Shredded Coconut  (I used unsweetened)
  • 1/2 cup Almonds (Chopped) ( I used Pecans which added too much ‘sweet’ likely will try cashews or walnuts next time)
  • Cayenne Pepper – don’t hold back

Directions: 

  1. Preheat oven to 450 degrees
  2. Pour fresh lime juice and olive oil into a baking pan
  3. Place tilapia in pan, coat both sides in juice
  4. Sprinkle salt and Pepper on fish. 
  5. Sprinkle panko bread crumbs on to fish
  6. Sprinkle coconut on top of fish
  7. Sprinkle almonds (Can use pecans, walnuts or other kind of nut)
  8. Season with cayenne pepper. (More the better  )
  9. Bake approximately 8-20 minutes. Time depends on the size of the fillet. 
  10. Smaller Fillets 8-12 minutes
  11. Larger Fillets 15-20 minutes

Recipe makes approx 4 – servings.

Pork Morengo

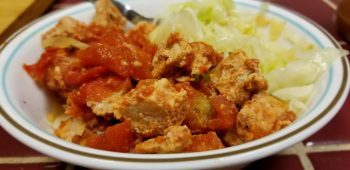
This one has always been a family favorite. Often served with rice, which can easily be replaced with cauli-rice or in this case, shredded cabbage.  It has an earthy taste. This is easily one of my favorite comfort foods.

We usually made this in a crock pot, however, this time, we made it in the Instant Pot and it turned out GREAT with a fraction of the time.

Ingredients:

  • 1.5 lbs Pork or Chicken
  • 1/4 c. Chopped Onion
  • 16 oz. Diced Tomatoes
  • 1 tsp Chicken Soup Base
  • 1 tsp Marjoram
  • 1 tsp Crushed Thyme
  • 1 tsp Salt
  • Dash of Pepper
  • Cabbage/Potatoes/Rice – Whatever you want your base to be.

Directions:

  1. Chop pork/Chicken into bite size pieces
  2. Place all ingredients into Instant Pot or crock pot
  3. Set Instant Pot to Meat/Stew on High  for 30 Minutes
    1. Release steam at 30 minutes.
  4. For Crock pot – Set on Med/High for 4-6 hours.
  5. Serve with cauli-rice or anything else you’d like

Bacon Wrapped Stuffed Brats

The picture speaks for the recipe itself. Not to mention – it includes Bacon! Bacon is gold in this house. Anytime it goes on sale we try to stock up as best we can.

This only takes a little bit of time to put together and it tastes so good. We don’t make it too often because it is very calorie dense, but it certainly is tasty!

Ingredients:

  • 5 slices bacon
  • 5 4-oz uncooked brats
  • 1 c sauerkraut, drained

Directions:

  1. Bake bacon for at 350°F until cooked but still floppy, about 20 min. (I just pan fried for a few minutes)
  2. Boil brats in water for 15 min or until heated through.(Boiled in water till done- Next time, Boiling them in beer)
  3. Remove from water and slice deeply along the length of each brat, being careful not to cut completely through.
  4. Stuff brats with sauerkraut. Wrap one slice of bacon around each brat, securing with toothpicks.
  5. Bake on a rack set over a baking sheet in a 350°F oven for 20 minutes or grill over medium heat until cooked through.

These tasted FANTASTIC! Ate them with Mashed Cauliflower. It was a perfect meal!

Makes 5 Brats/Servings

Jello Fat Bombs

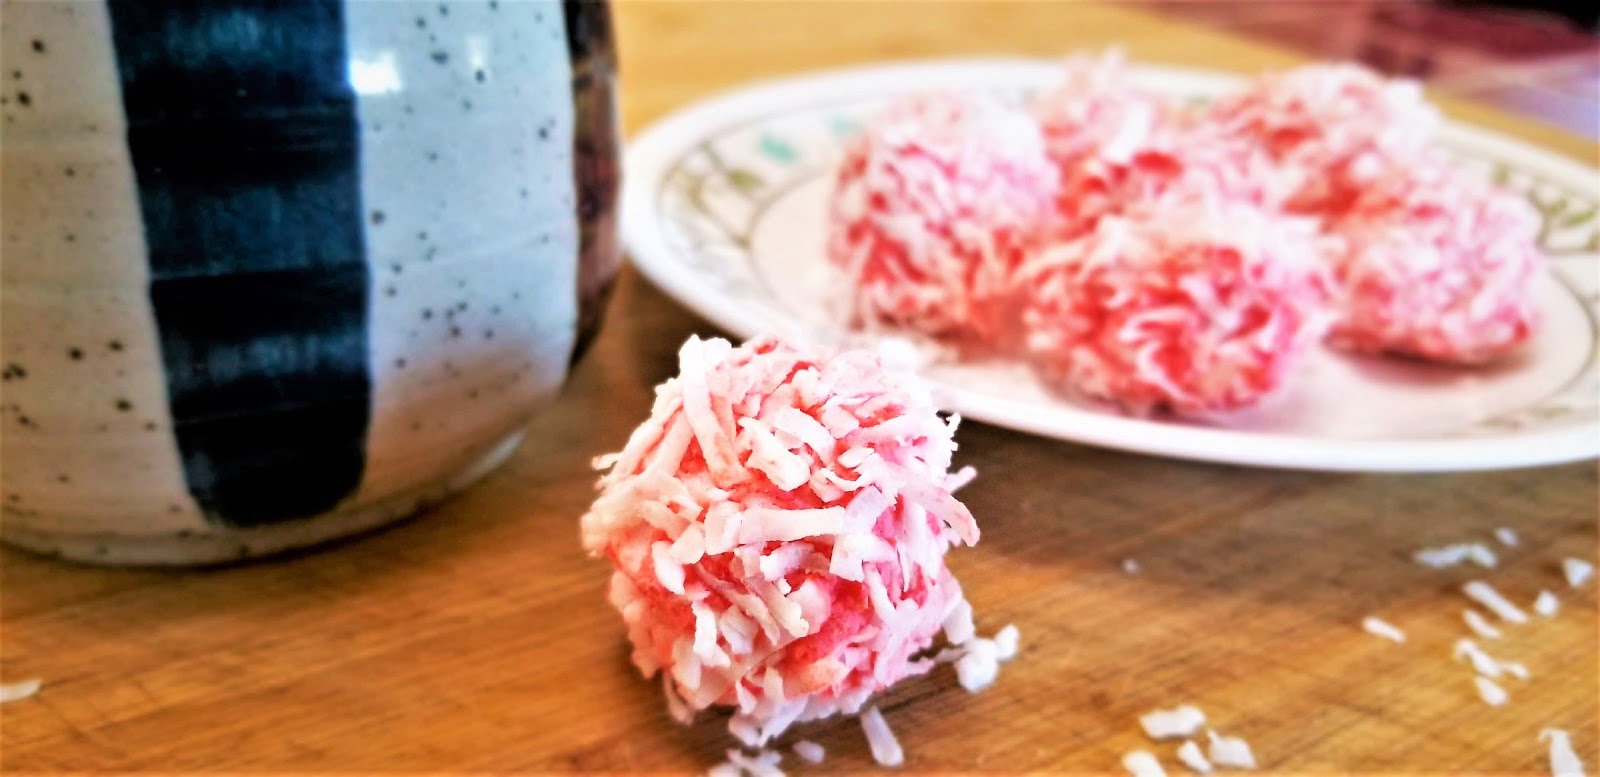
This was a quick little creation that sounded really good. I used to love jello powder in cottage cheese mixed with fruit, but that has far too many carbs than I care to even think about.
These little things are great in a pinch and a fat bomb to boot! I’ve made them a couple times now and they are almost addicting!
Whats great is you can make these in any flavor you choose! Don’t want to use pre-packaged jello? use gelatin or Xanthan gum and different flavors! The sky is the limit! Let your imagination run wild!
We would love to hear what you tried with yours!

Coconut Rolled Jello Fat Bombs

Servings: 20 Fat Bombs

Ingredients

  • 8 oz Cream Cheese Softened
  • 8.5 g Sugar Free Jello- Any Flavor
  • 1 cup Unsweetened Coconut Flakes
  • 1 packet Stevia

Directions:

  1. Soften the Cream Cheese
  2. Add the SF Jello and Stevia packet and mix well
  3. Chill in the refrigerator for approximate 10-15 min. This will allow the mixture to be more easily formed into balls.
  4. Roll mixture into 1″ balls and then roll through coconut flakes to coat.
  5. Store in the fridge and enjoy!

Alternate options: Roll in ground almonds or almond flour. This option is one of my favorites.

Almond Coated Jello Bombs

Servings: 20 Fat Bombs
Ingredients

  • 8 oz Cream Cheese Softened
  • 8.5 g Sugar Free Jello- Any Flavor
  • 1/2 cup Unsweetened Coconut Flakes
  • 1 packet Stevia
  • 1/2 cup Almond Flour (Not likely to use all of it)

Directions:

  1. Soften the Cream Cheese
  2. Add the SF Jello and Stevia packet and mix well
  3. Chill in the refrigerator for approximate 10-15 min. This will allow the mixture to be more easily formed into balls.
  4. Mix in coconut flakes,
  5. Roll mixture into 1″ balls and then roll through coconut flakes to coat.
  6. Store in the fridge and enjoy!